
Are Expensive Mountaineering Kits Worth It? A 2026 Guide
Table of Contents
- The Real Cost of a Mountaineering Kit
- The Safety-Critical Hierarchy: What You Can't Cheap Out On
- Essential Mountaineering Gear List: What You Actually Need
- UIAA Safety Standards for Climbing Gear: Your Baseline
- Renting vs Buying Mountaineering Gear: Which Makes Sense?
- The Second-Hand Market: How to Verify Used Gear
- Diminishing Returns: When Premium Stops Paying Off
- Frequently Asked Questions
Last Updated: September 10, 2026
The Real Cost of a Mountaineering Kit
A complete set of mountaineering kits costs anywhere from a few hundred to several thousand dollars, a wider gap than most beginners expect. This guide from AdventureTrailhead breaks down whether expensive mountaineering kits are worth it, where your money goes, and how to build a setup that matches your objectives rather than your ego.
Where Your Money Actually Goes
Premium pricing reflects three things: materials, testing, and weight savings.
A three-layer waterproof membrane shell costs more to produce than a two-layer budget shell because the construction is more complex and the fabric more durable (rei.com). Expedition-grade soft goods use lighter, more abrasion-resistant fabrics, and that R&D cost gets passed to you.
Hard goods, carabiners, cams, crampons, follow a different curve: certification testing and tighter manufacturing tolerances drive cost, not fabric technology.
Many buyers assume the price difference is pure brand markup. It isn't, though a portion of it is.
Hidden Costs of Mountaineering
The kit itself is rarely the full expense. Budgeting only for big-ticket items means scrambling when smaller costs pile up.
- Travel and permits: Access to many alpine environments requires fees, reservations, or shuttle services.
- Training and courses: A guided skills course or avalanche training often costs more than a single piece of gear.
- Replacement consumables: Batteries, fuel canisters, sunscreen, and nutrition add up over a season.
- Repairs and maintenance: Waterproofing treatments, seam repair, and resoling are recurring costs, not one-time ones.
- Insurance and evacuation coverage: Rescue coverage in remote terrain is a real line item.
Teams that plan for these upfront avoid compromise purchases later.
The Safety-Critical Hierarchy: What You Can't Cheap Out On
The safety-critical hierarchy is simple: rank every piece of gear by the consequence of its failure, then spend accordingly. Failure that means a fall, injury, or death belongs at the top of your budget; failure that means discomfort belongs at the bottom.
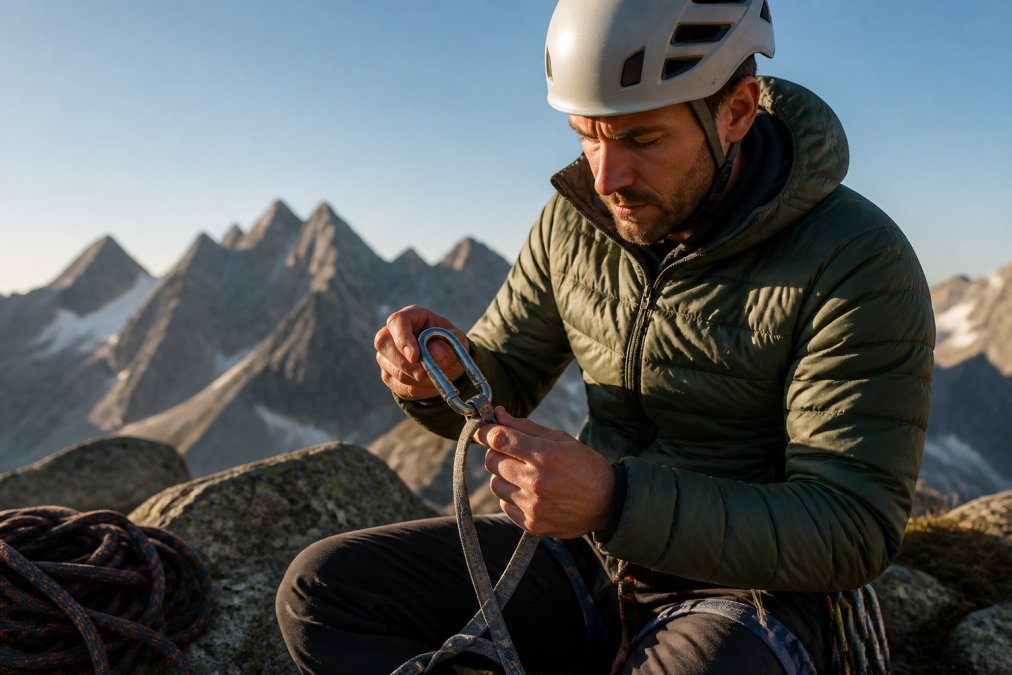
Most guides stop at the tier list. The useful part is what happens after you sort your gear: the tiers tell you how to split a fixed budget.
Tier 1: Life-Safety Gear (Never Compromise)
Harness, helmet, ropes, carabiners, belay devices, crampons, ice axe, protection hardware.
These items share a property that separates them from everything else: their failure mode is sudden and non-recoverable. A cam that pulls, a rope that cuts, a crampon that shears off a boot, there is no partial failure state you can manage your way out of. That's why the certification floor matters most here, and why buying used is only safe when you can verify history.
A practical rule: if you cannot afford a certified Tier 1 item this season, rent or borrow it. Do not substitute an uncertified version. The savings are real; the downside is not survivable.
Tier 2: Performance and Exposure Gear (Compromise Carefully)
Boots, shell layers, insulation, navigation tools.
Tier 2 failures rarely kill you directly, but they create the conditions for Tier 1 failures. A boot that doesn't accept your crampon properly, a shell that wets out, a GPS that dies in whiteout, each degrades your margin. Mid-tier gear earns its keep here: you want it to work reliably in the conditions you'll actually meet.
Tier 3: Comfort and Convenience (Buy on Value)
Base layers, rucksacks, gloves, accessories.
Tier 3 is where premium pricing is most often pure preference. A mid-tier synthetic base layer wicks as well as a premium one for most recreational use, and a well-fitted mid-priced pack carries as comfortably as an expedition pack for weekend objectives. Spend here last, based on fit and function rather than brand.
How to Allocate a Fixed Budget Across the Tiers
A common pattern among recreational mountaineers building a first kit:
- Tier 1: the majority of the gear budget, because these items are both safety-critical and long-lived.
- Tier 2: the next largest share, weighted toward items you'll use on every trip (boots, shell) over occasional items (specialty insulation).
- Tier 3: whatever remains, with fit prioritized over features.
The exact split depends on your objectives: a glaciated volcano route needs different Tier 1 emphasis than a rock-focused alpine route. The framework forces the question, what happens if this fails?, before you look at a price tag.
Essential Mountaineering Gear List: What You Actually Need
A complete kit covers four systems: what you wear, what you carry, what keeps you alive, and what gets you up and down the mountain. Beginners often overbuy on apparel and underbuy on protection.
- Hard goods: harness, helmet, carabiners, belay device, ice axe, crampons, protection (cams, nuts, pitons as needed)
- Soft goods: base layers, insulation, shell layers, gloves, hat, socks
- Footwear: mountaineering boots matched to terrain and crampon compatibility
- Pack and carry: rucksack sized to trip length, plus a summit pack for side trips
- Safety and navigation: map, compass, GPS device, headlamp, first aid kit, emergency shelter, avalanche gear where relevant
For a first season, focus on Tier 1 items. A quality harness and helmet will outlast three cheap replacements.
Hard Goods vs. Soft Goods
Hard goods are the metal and structural components: carabiners, cams, crampons, ice axes, and belay devices. Soft goods are the textile-based items: jackets, base layers, gloves, and packs.
The distinction matters because they depreciate differently. Hard goods hold value longer on the second-hand market and are easier to inspect for wear. Soft goods degrade with UV exposure, washing, and abrasion, and their waterproofing breaks down over time.
Hard goods reward investment more consistently: a well-maintained cam or carabiner can serve you for a decade, while a budget shell layer might need replacing every two seasons.
UIAA Safety Standards for Climbing Gear: Your Baseline
UIAA safety standards are the international benchmark for climbing and mountaineering equipment, covering everything from rope impact force to carabiner gate strength. In the United States, gear is also tested against ANSI standards and, for helmets and some protection, ASTM International. Any gear with a UIAA or CE rating has passed third-party testing for the load and durability requirements of its category (theuiaa.org).
UIAA safety standards documentation
The practical takeaway: certified gear from any reputable brand is safer than uncertified gear from an unknown source, regardless of price. Certification is the floor, not the ceiling.
For AdventureTrailhead customers who ask how they can trust climbing and belay equipment, the answer is the certification stamp. Look for the UIAA or CE mark on the product, verify the manufacturer is listed in the relevant standards database, and check that the item hasn't been recalled. Our Mountain Hard Shell Jacket Windproof Waterproof Outdoor Mountaineering Clothing is built for the alpine environment, and we stock hard goods from manufacturers who publish their certification numbers.

Renting vs Buying Mountaineering Gear: Which Makes Sense?
Renting makes sense when you're testing the sport, borrowing for a single trip, or need specialized gear you'll use once. Buying makes sense when you'll use the item more than a handful of times per year, when fit matters, or when local rental supply is limited.
Here's a rough decision framework:
| Scenario | Better Choice | Why |
|---|---|---|
| First trip, unsure if you'll continue | Rent | Avoids sunk cost on gear you may not use |
| One big objective per year | Rent specialty items | Cheaper than owning gear that sits idle |
| Monthly climbing or training | Buy | Rental fees exceed purchase price within a season |
| Fit-critical items (boots, harness) | Buy | Rental fit is rarely ideal and comfort matters |
| Safety-critical hardware | Buy | You want to know its history and condition |
The ROI math is straightforward: add up the rental cost for a season. If it approaches the purchase price of a mid-tier item you'll use for years, buy it.
For beginners who want to build a kit without overcommitting, a Men Outdoor Mountaineering Camping Windproof Soft Shell Jacket is a sensible entry point. It handles changing weather without the price of a full expedition shell, and you can upgrade later once you know what you actually need.

The Second-Hand Market: How to Verify Used Gear
Used gear can save significant money, and for hard goods, it's often the smartest purchase you'll make. The catch is verification, most guides hand you a checklist without explaining how to inspect an item or confirm it isn't under recall.
Which Categories Are Safe to Buy Used
Not all used gear carries the same risk. The dividing line is whether condition can be assessed by inspection.
- Generally safe to buy used (with inspection): metal hardware, carabiners, cams, nuts, pitons, ice screws, belay devices, crampons. These are non-porous, their wear is visible, and their certification markings persist.
- Buy used only with strong provenance: ropes, harnesses, slings, and webbing. These degrade from UV exposure, chemical contact, and falls in ways that aren't always visible. A rope with an unknown fall history is a rope you should not lead on.
- Buy new: helmets (foam liners can be compromised by a single impact that leaves no external mark), soft goods (shells, insulation, sleeping bags), and anything whose waterproofing or loft is central to its function.
How to Inspect Used Hard Goods
Work through this in order. If any step fails, walk away, there is always another carabiner.
- Certification markings: UIAA or CE stamps must be legible and match the manufacturer's records. Faded or absent markings are a hard stop.
- Metal integrity: Look for cracks, deep gouges, corrosion pitting, or deformation. Surface scuffs are normal; anything that catches a fingernail is not.
- Gate function (carabiners): The gate should open and close smoothly, snap shut under its own spring, and show no sticking or grinding. Check the gate-to-nose interface for wear.
- Cam function: Cams should retract fully and evenly. Check the axle for play, the lobes for flat spots, and the sling for fraying or fading.
- Crampon points: Points should be sharp and unbent. Bent points can be filed, but cracks at the point base or around the rivets are disqualifying.
- Ice axe: Check the head-to-shaft connection for play, the pick for cracks, and the shaft for dents that could indicate a hidden bend.
How to Verify a Recall Status
This is the step most buyers skip. Before you hand over money:
- Note the manufacturer, model, and production date or batch code (often stamped on the item or printed on the packaging).
- Search the manufacturer's website for a recall or safety notice page.
- Check the Consumer Product Safety Commission's recall database for the brand and model.
- If the seller can't provide a model or batch identifier, treat the item as unverifiable and pass.
Questions to Ask the Seller
- When was the item purchased, and how many seasons has it been used?
- How was it stored, indoors, in a garage, exposed to heat or chemicals?
- Has it ever been dropped from height, loaded in a fall, or involved in an accident?
- Can you provide the original purchase receipt or a photo of the certification stamp?
A seller who can't answer basic questions about an item's history is one to walk away from. A seller who answers evasively about a rope or harness is one to block.
A Note on Pricing Used Gear
Used hard goods typically sell for a fraction of new retail, but the discount should reflect condition and remaining service life, not just age. If a used cam is priced close to new, buy new, you get the warranty and a known history. If it's deeply discounted with no documentation, the discount is the warning, not the deal.
Diminishing Returns: When Premium Stops Paying Off
Premium gear stops being worth it when the extra cost buys features you won't use. A top-tier alpine shell designed for multi-day high-altitude expeditions is overkill for weekend trips in moderate conditions, you're paying for capability you'll never test.
Where premium genuinely pays off:
- Weight reduction on long approaches: Every gram matters when you're carrying a full kit uphill.
- Durability in abrasive terrain: Reinforced fabrics survive rock and ice contact that shreds budget gear.
- Ergonomics in high-altitude gear: Better articulation and fit reduce fatigue and improve safety on technical terrain.
- Breathability and moisture management: Premium membranes move sweat more efficiently, which matters on sustained efforts.
Where it doesn't:
- Base layers, where a mid-tier synthetic performs nearly as well as a premium one
- Accessories like stuff sacks and small pouches
- Any feature you can't explain the purpose of
The cost-to-performance ratio flattens sharply past the mid-tier. For most recreational mountaineers, mid-tier gear from a certified manufacturer delivers the durability and safety they need. The premium tier is for people whose objectives demand it.
For footwear specifically, Olive 6-Inch Waterproof Hiking Boots offer a Vibram outsole and suede leather build at a price that doesn't require a second mortgage. They're a solid example of the mid-tier sweet spot: real traction, real waterproofing, no expedition markup.

The upfront cost of a quality mountaineering kit is real, and so is the pressure to either overspend or cut corners. The safety-critical hierarchy gives you a way through: spend on gear whose failure has consequences, compromise where failure means discomfort, and rent or buy second-hand when usage doesn't justify ownership. AdventureTrailhead carries certified hard goods, expedition-ready soft shells, and footwear built for alpine conditions, so you can build a kit that matches your actual objectives. Get started with AdventureTrailhead and gear up with equipment you can trust on the route.
Frequently Asked Questions
How much does a full set of mountaineering gear cost?
A complete kit ranges from roughly $1,500 for a basic setup to over $5,000 for expedition-grade equipment. The biggest expenses are your boots, harness, and technical tools like crampons and an ice axe. Buying a full kit at once often saves money compared to purchasing items individually.
Is it safe to buy used mountaineering gear?
It depends on the item. Soft goods like ropes, slings, and harnesses have a limited lifespan and can hide damage, so buying them used is risky. Hard goods like ice axes, crampons, and carabiners can be safe if they show no cracks, deep gouges, or corrosion. Always inspect used gear carefully, check for UIAA or CE markings, and ask for the original purchase date and history.
Do I really need UIAA-certified gear for mountaineering?
Yes, for any life-safety equipment. The UIAA sets minimum strength and durability standards for climbing gear. Products without certification may fail under load. Look for the UIAA label or CE rating on harnesses, carabiners, ropes, and crampons. This certification is your assurance that the gear has passed standardized tests for the forces involved in a fall or sudden load.
When is renting gear better than buying?
Renting makes sense for one-off trips or when you are testing a new discipline. For example, if you only climb once a year, renting boots and tools can cost less than buying. But if you plan to go on multiple expeditions per season, buying your own kit pays off quickly. Renting also lets you try different models before committing to a purchase.