
How to Break in Stiff Hiking Boots Quickly: 2026 Guide
Table of Contents
- What You'll Need Before You Start
- How to Break In Stiff Hiking Boots Quickly: 7 Proven Steps
- How to Lace Hiking Boots for Comfort
- The Hiking Boot Break-In Period: A Realistic Timeline
- How to Prevent Blisters While Hiking in New Boots
- Home-Based Break-In Hacks and Material-Specific Conditioning
- Common Mistakes to Avoid
- Frequently Asked Questions
Last Updated: September 30, 2026
What You'll Need Before You Start
You just dropped good money on stiff hiking boots, and now they feel like concrete blocks. The good news: you can learn how to break in stiff hiking boots quickly with the right prep, and most pairs loosen up in one to two weeks.

Here's what to gather first:
- Two pairs of moisture-wicking socks (a thin liner plus a thicker outer sock)
- Moleskin or blister bandages
- Leather conditioner (for leather uppers only)
- A hair dryer (on low heat, for synthetic uppers)
- Heavy-duty boot laces with good grip
- A backpack you can load with 10-15 pounds
Skip the conditioner on synthetic uppers, it won't absorb.
How to Break In Stiff Hiking Boots Quickly: 7 Proven Steps
The fastest method combines heat, moisture, and short wear sessions. Most boots need about 10 to 15 hours of total wear time. Here are seven steps you can start today.
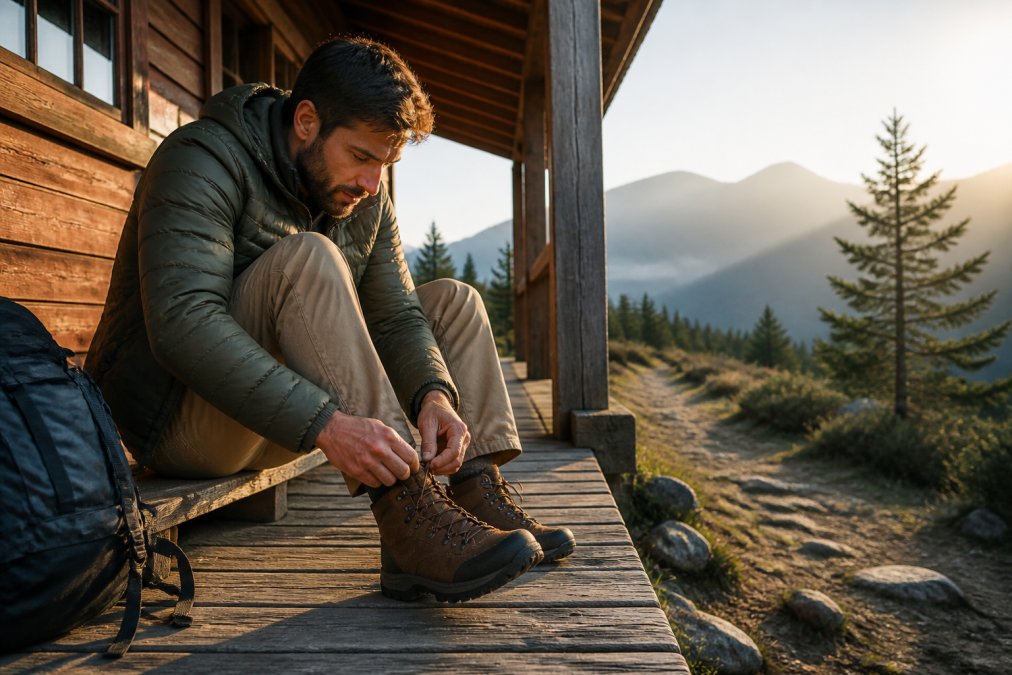
Step 1: Fit and Toe Box Check
Put your boots on with your hiking socks, stand up, and press your thumb against the front of the toe box. You want about a thumb's width of space between your longest toe and the front, less and your toes jam on descents, more and your foot slides and causes hot spots.
Step 2: Condition Leather or Warm Synthetic Uppers
Leather boots need conditioner: apply a thin layer to the entire upper, let it soak in overnight, then wipe off the excess. Synthetic boots respond to heat instead, put them on, run a hair dryer on low over the tight spots for 30 seconds at a time, and walk around while the material is warm so it molds to your foot as it cools.
Step 3: Wear Them Indoors First
Lace up and wear your boots around the house for 30 to 60 minutes, chores, stairs, standing at the counter. It's the safest way to start: you can take them off the second a hot spot forms, which you can't on a trail. Do this for two or three days, adding 15 minutes each session.
Once indoor wear feels easy, move outside.
How to Lace Hiking Boots for Comfort
Lacing is the most overlooked fix for boot pain. The right pattern can solve heel slippage, pressure points, and toe box crowding without any break-in time. Most people lace their boots once and never change it, a mistake, since different foot shapes need different tension.
Heel Lock Lacing to Stop Heel Slippage
Heel slippage causes blisters faster than anything else. Here's the fix:
- Lace your boots normally up to the second-to-last eyelet
- Cross the laces to create an "X" over the top
- Thread each lace end back through the same-side eyelet, leaving a small loop
- Pull the opposite lace through each loop
- Cinch tight and tie normally
Lacing Tension for High Arches and Wide Feet
High arches need looser lacing across the midfoot: skip the criss-cross there and run the laces straight up the sides to take pressure off the top of your foot. Wide feet benefit from a wider pattern at the bottom, straight across the first two eyelets, then criss-cross higher up.
The Hiking Boot Break-In Period: A Realistic Timeline
The break-in period isn't a fixed number of days, it's a function of upper material, midsole stiffness, and cumulative flex time. Here's what to expect, plus the conditioning method for each material.
| Material | Typical Break-In | Conditioning Method | Signs It's Done |
|---|---|---|---|
| Full-grain leather | 2-4 weeks | Leather conditioner + damp-sock wear | Leather creases at the ball, no longer resists flex |
| Nubuck / suede | 1-3 weeks | Light conditioner, brush after | Nap stays soft, no stiff panels over toes |
| Synthetic mesh | 3-7 days | Low heat molding + wear | No hot spots after 1 hour of walking |
| Mixed leather/synthetic | 1-2 weeks | Condition leather panels, heat synthetic panels | Heel stays locked, flex point aligns with foot |
| Waterproof membrane boots (any upper) | Add 3-7 days | Never soak; condition upper only | Membrane flexes without creaking |
Why Leather and Synthetic Break In Differently
Leather is collagen-based: when it absorbs conditioner or moisture, the fibers slide and reform around pressure points, so it molds permanently but takes weeks of repeated flexing at the ball of the foot. Synthetic uppers are a laminate that doesn't mold like leather, they soften at seams and flex points through mechanical stress, and heat accelerates this because thermoplastic components become pliable when warm, then set as they cool.
Material-Specific Conditioning: What Actually Works
Full-grain leather: Apply a thin coat of leather conditioner (wax- or oil-based, not silicone sealer) to the entire upper, especially the flex zone at the ball of the foot and the heel counter. Let it absorb overnight, wipe off the excess, and repeat weekly during break-in. Conditioner replaces the natural oils that stiffen as leather dries out.
How to Tell You Are Actually Making Progress
Break-in isn't linear: most people see the biggest change in the first three sessions, then a plateau, then a second jump around day 10 to 14 as the material creases at the flex point. Signs you're on track:
Men's Sports Hiking Shoes Low-Top →
- The boot flexes at the ball of your foot instead of the middle of your arch
- The heel counter feels snug without pressure on your Achilles
- You can walk 30 minutes with no hot spots
- The laces need less tension to keep your heel locked
Signs you are pushing too hard:
- Redness or tenderness on the top of your foot after a session
- Aching arches that persist after you take the boots off
- Any sharp pressure point that does not fade within 10 minutes of walking
How to Prevent Blisters While Hiking in New Boots
Blisters are a mechanical problem, not a toughness problem: friction, moisture, and heat combine to shear the top layers of skin away from the layers below. Control all three and you can hike in new boots without paying for it. Prevention is straightforward, liner sock under a wool or synthetic outer sock, heel lock lacing, and socks changed before they get wet.
Sock Thickness, Moisture-Wicking Socks, and Moleskin
Match sock thickness to boot fit, if your boots fit snug with thin socks, don't switch to thick ones mid-trip, since that changes the volume inside the boot and creates new pressure points. A two-layer system works because the liner and outer sock slide against each other instead of your skin: the liner should be thin, snug, and synthetic, and the outer sock wool or a wool-synthetic blend, cushioned at the heel and ball.
Hot Spot Triage: What to Do Mid-Hike
1. Stop and remove the boot and sock. Inspect the area. Red but intact skin means prevention mode; a raised pocket of fluid means treatment mode.
3. Apply the right patch for the stage:
- Red, intact skin: Moleskin or a hydrocolloid blister bandage. Moleskin is a felt-like adhesive pad that absorbs shear. Hydrocolloid is a gel-forming dressing that cushions and seals. Either works; hydrocolloid stays on longer in wet conditions.
- Small intact blister: Do not pop it. Cover with a hydrocolloid bandage large enough to extend at least half an inch past the blister edge. The gel pad cushions the roof of the blister and prevents further shear.
- Torn or open blister: Clean gently with water, apply an antibiotic ointment if you carry it, and cover with a non-adherent dressing plus a hydrocolloid or moleskin ring around the edges. Do not put adhesive directly on the open skin.
Taping Techniques That Stay Put
Leukotape over a tincture of benzoin base. Benzoin is a sticky liquid that boosts adhesive bond to skin. Paint a thin layer on dry skin, let it get tacky, then apply Leukotape (rigid, zinc-oxide athletic tape) with no wrinkles. It survives sweat and days of walking. Don't use it on broken skin.
Prevention Checklist for New-Boot Hikes
- Liner sock plus wool outer sock, both dry at the start
- Heel lock lacing, re-tied at every break
- Moleskin, hydrocolloid bandages, and Leukotape in your pack
- Socks changed at lunch, or sooner if feet feel damp
- Boots and socks off for 10 minutes at every long break
- Feet inspected at the first sign of warmth or rubbing
Check your feet every hour on early hikes, small problems stay small when you catch them early. Hikers who finish long days without blisters aren't tougher; they stop sooner and treat faster.
Home-Based Break-In Hacks and Material-Specific Conditioning
You don't need a trail to break in boots, a few household tricks speed things up without damaging materials.
Common Mistakes to Avoid
The biggest mistake is going too far, too fast: new boots feel fine for the first hour, and the pain shows up at hour three, usually miles from the trailhead. Other mistakes:
- Wearing cotton socks. Cotton holds moisture against your skin. Use wool or synthetic blends.
- Skipping the liner sock. That thin layer is your best blister prevention.
- Lacing too tight at the bottom. This cuts off circulation and causes numbness.
- Ignoring hot spots. Stop and treat them the moment you feel one.
- Breaking in boots on a big trip. Always test new boots on short day hikes first.
Frequently Asked Questions
How many hours does it take to break in hiking boots?
Most leather hiking boots need 20 to 40 hours of wear before they mold to your feet, while synthetic and mesh uppers often soften in 10 to 15 hours. Split the time across short walks, errands, and light day hikes rather than one long push. A realistic hiking boot break-in period runs one to three weeks of consistent wear, and boots with a stiff midsole or full-grain leather sit at the longer end. Stop when the boots feel snug without pressure points.
How do I know if my hiking boots are broken in?
Your boots are broken in when you can walk a few miles without hot spots, heel slippage, or pressure points forming. The leather or synthetic upper should flex with your foot instead of resisting each step, and the footbed should feel molded to your arch. Test them on a short incline and decline before a long hike. If your heels lift or your toes jam on descents, they need more time or a lacing adjustment.
Should I wear thick socks to break in hiking boots?
Thick moisture-wicking socks help during the early stages because they add cushioning and reduce friction against stiff leather. Pair them with the same socks you plan to hike in, since foot swelling and sock thickness change how the boot fits. Avoid cotton, which holds sweat and softens skin, making blisters more likely. Once the boots soften, switch to your normal hiking socks and recheck the fit.
Can you use heat to break in hiking boots faster?
Mild warmth helps leather relax, but direct heat from a blow dryer, radiator, or oven can crack the upper, melt adhesives, and void waterproof membranes. A safer approach is to wear the boots indoors with thick socks for 30 to 60 minutes so body heat softens the leather naturally. For conditioning, apply a leather conditioner made for hiking boots, then walk around the house until it absorbs. Never soak boots in water to stretch them.
Breaking in stiff boots takes patience, but the payoff is a pair that fits like it was made for you. AdventureTrailhead carries high-top hiking boots with breathable mesh uppers, EVA cushioning, and rubber lug outsoles built for the trail. We also stock waterproof options with suede leather and VIBRAM® traction for wet, rocky terrain. Get started with AdventureTrailhead and hit the trail in boots that feel broken in from day one.